...
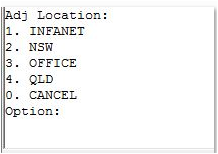
To Scroll through location pages use the Down and Up Arrows to scroll between the various locations.
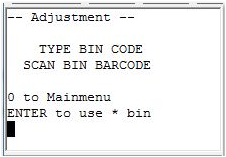
Step 3. Key in Bin Number or Scan Bin Barcode for the Adjustment Bin location.
- 0 key returns to the Main menu.
- “*” is used as a default Bin Location - if their is no Bin Location assigned to the item Press Enter.

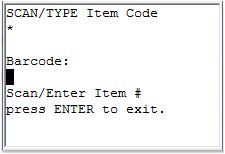
Step 4. Key in item number or Scan item barcode number.
Step 5. Key in Serial/Batch number or Scan Serial/Batch barcode.
- ”~” is the default batch/serial number - Press enter if the item it not using batch/serial numbers.

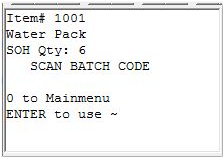
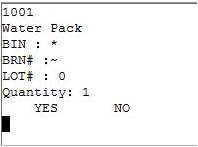
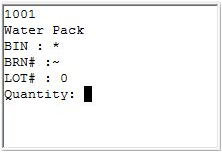
Step 6. The Item Number and item name is display on top of screen and the Quantity is displayed at the bottom.
Review the Displayed Quantity;
- If Displayed Quantity is true go to Step 8.
- If Displayed Quantity is false and needs adjusting go to Step 7.

Step 7. To Adjustment the Quantity – Press the right arrow button, enter the correct quantity and press Enter.
- Proceed to Step 8.

Step 8. To Confirm the Quantity is correct – Press the left arrow button.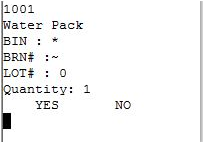
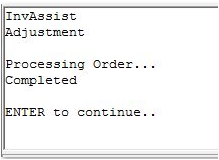
Step 9. Press Enter button to continue and repeat Steps 2. to 8. to make further Stock Adjustments.
- Press ESC Key to Return to Main Menu.

CONSOLE GLOSSARY
Related Information
...
- “BIN :” ” Bin Location. * is set as default bin. Used to represent items without a Bin location assigned.
- “BRN# :” refers refers to Batch/Serial Number. ~ is set as the batch/serial default.Used Used to represent items not batch/serial tracking.
- “LOT# :” Pallet Pallet Lot Location. 0 is default pallet Lot Location.
Related Information
...
| Page Properties | ||
|---|---|---|
| ||
|
...