Console - Transfer Stock
- Former user (Deleted)
- kbadmin
Description
The Transfer Console will create an open Transfer Order within the “Despatch Registry” for the Location that goods will be transferred From.
It will also create an open Transfer Order within the WMS “Receiving Registry” for the Location that goods will be transferred To.
Note: The receiving and shipping warehouse may need to complete the transfer within either the respective registries or within the Receive/Despatch Console Menus, this will be dependent on your workflows and preference settings.
Detail Steps
Step 1. Turn on the handheld and from the Console Menu Press Down Arrow then Select option 4. Transfer.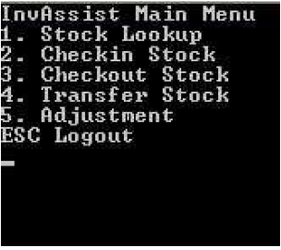
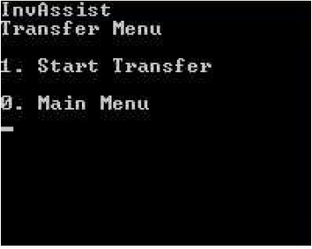
- Press 0 to return to Main Menu.
- Press 0 to cancel and return to Step 2.
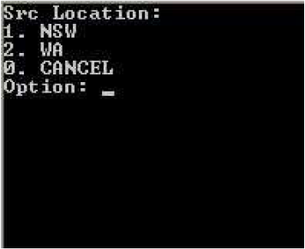
- If applicable Use Up and Down Arrows to scroll between location pages.
- Press 0 to cancel and return to Step 2.
- If applicable Use Up and Down Arrows to scroll between location pages.
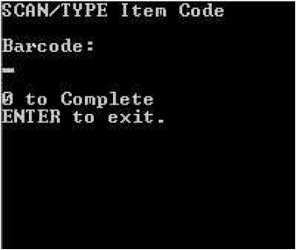
Step 5. Scan Barcode or Enter a Item Code.
- Press ENTER Key to Cancel and Return to Transfer Menu - Return to Step 2.
- Press 0 follow by Enter to complete a Transfer. Proceed to Step 14.
Note: Can only complete a transfer if Steps 5 to 11 are at completed for at least 1 item)
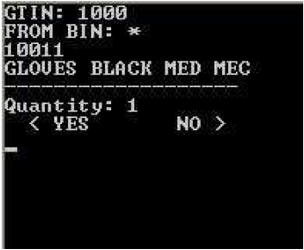
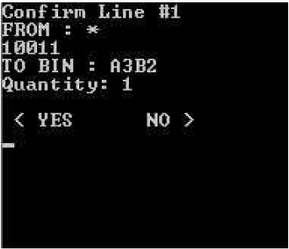
- Press Left Arrow to confirm Quantity Proceed to Step 8.
- Press Right Arrow to edit the Quantity - Return to Step 7.
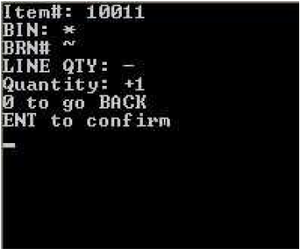
- Press ENTER to confirm new Quantity Return to Step 6.
Note: If Scan Quantity setting is turned on then Quantity can only be altered by scanning each item being transferred. i.e. Can't enter in a new Quantity on the keypad. - Press 0 to cancel editing the Quantity - Return to Step 6.
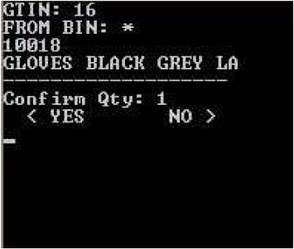
- Press Left Arrow to confirm Quantity - Proceed to Step 9.
- Press Right Arrow to reedit the Quantity - Return to Step 7.
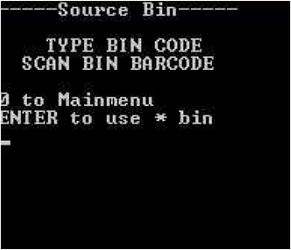
- Press 0 to Cancel Transfer Proceed to Step 13.
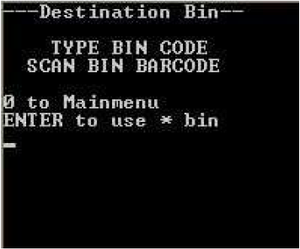
- Press ENTER to use * if no Destination Bin is required. Proceed to Step 10.
Note: * is set as the default bin location. This Bin location is used to represent items without a Bin location.
- Press Left Arrow to confirm Bin Location - Proceed to Step 11.
- Press Right Arrow to edit Destination Bin Location. Return to Step 9.
- Press Left Arrow to continue adding items to Transfer Order. Proceed to Step 12.
- Press Right Arrow to complete/submit Transfer order. Return to Step 2.
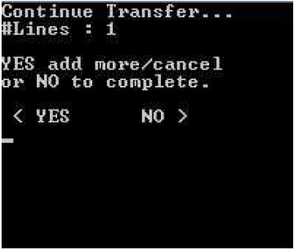
- Press 0 to cancel transfer. Proceed to Step 13.
- Press ENTER to use * if no Destination Bin is Required. Return to Step 5.
Note: * is set as the default bin location. This Bin location is used to represent items without a Bin location.
- Press ESC to go back. Return to Step 9.
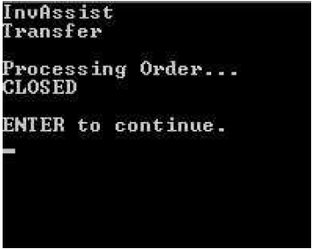
- Press ENTER to confirm Cancel. Return to Step 2.

- Press ENTER to continue. Return to Step 2.
Related Information
“BIN :” Bin Location. * is set as default bin. Used to represent items without a Bin location assigned.
“BRN#:” Refers to Batch/Serial Number. ~ is set as the batch/serial default. Used to represent items not batch/serial tracking.
“GTIN :” Barcode Number.
“SRC:” Source Location
Need Assistance?
Call 1800 137 032 Email support@datapel.com